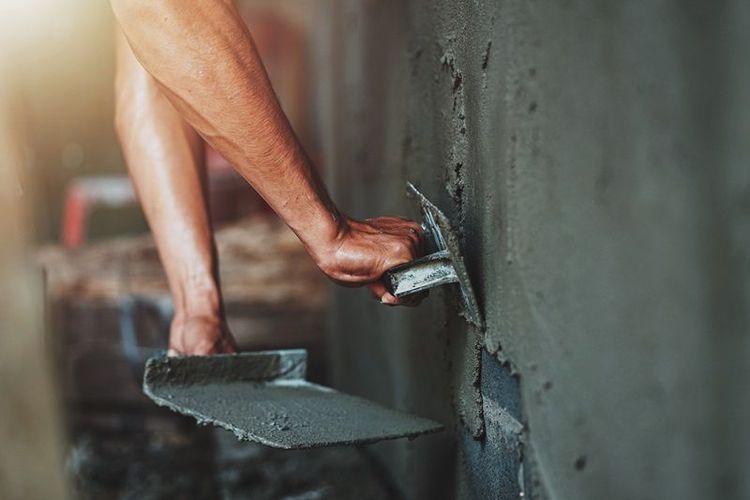
When it comes to constructing or renovating a building, the finishing touches play a vital role in determining the overall aesthetics and durability of the structure. One of these crucial finishing touches is plastering. Properly executed cement plastering can transform a rough, uneven wall into a smooth, uniform surface ready for painting and decorating. In this comprehensive guide, we will delve into cement plastering and explore the steps to ensure excellence.
The significance of plastering
Before we dive into the checklist and guidelines for achieving high-quality cement plastering, it's important to understand why this step is so crucial in the construction or renovation of a building. Plastering serves several essential purposes:
1. Surface protection
Plastering provides a protective layer over the underlying structure, whether brick walls, concrete surfaces, or composite metal surfaces. This layer shields the surface from water penetration, weathering, and other atmospheric influences. Without proper plastering, these surfaces are susceptible to damage and deterioration.
Tips for ensuring high-quality cement plastering work


2. Aesthetic appeal
Plastering is more than just a protective measure; it also adds to the structure's visual appeal. It covers up the wall's undulations, cracks, and imperfections, creating a smooth and aesthetically pleasing canvas for further interior or exterior work, such as painting or decorative finishes.
3. Uniformity
Plastering ensures that the wall surface is uniform and consistent. It covers up any discrepancies in the underlying structure, providing a clean and level foundation for other design elements.
4. Durability
Quality plastering is resistant to cracks and other forms of damage, ensuring that your walls remain in excellent condition for years to come.
Now that we understand the importance of plastering let's delve into the checklist and guidelines for achieving excellence in cement plastering work.

Pre-plastering checklist
1. Surface preparation
Surface preparation is the foundation of a successful plastering job. Here are the key steps to consider:
Cleaning: Ensure that the surface is clean and free from loose particles, dust, and debris. You can achieve this by washing the exterior, scraping off loose material, or using a wire brush.
Roughness: To enhance adhesion, create a rough surface on brick walls. You can achieve this by raking the wall. For smooth concrete surfaces, hacking is necessary to promote good adhesion.
Surface evenness: The surface should be free of undulations to minimise the thickness of the plaster. Uneven surfaces can result in variations in plaster thickness.
Discontinuity of surfaces: Discontinuities in plastered surfaces can lead to cracks. For instance, transitions from concrete to brick surfaces or clay brick to cement blocks should be addressed by providing a layer of plastering mesh at the junction to prevent crack formation.
2. Curing
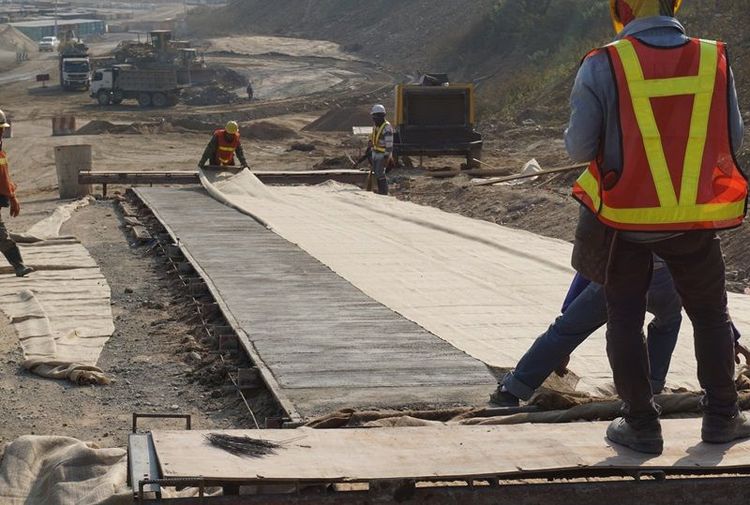
Proper curing is essential to achieve maximum strength and density in the plaster. After the application has hardened and is no longer susceptible to damage, it should be kept damp for at least seven days. Curing can be done by spraying water on the surface or using wet gunny bags.
3. Specification and standards
Sand sieving: Sieve the sand per specifications and grade to ensure its quality.
Mortar mix: The proportion of cement mortar should adhere to industry standards. A 1:4 mix is typically used for ceilings and a 1:6 combination for walls.
Water quality: The water used in plastering should be suitable for drinking and free from chlorides and organic impurities.
4. Check levels and undulations
Button marks: Button marking is a technique used to mark the wall surface before plastering to ensure that the plaster is applied evenly and at the correct thickness.
Undulations: Check for smooth finishes using spirit levels to identify any undulations, cracks, or irregularities in horizontal and vertical directions.
Halogen lights: Utilise yellow halogen lights to detect undulations on the surface. These lights can reveal imperfections that can be rectified while the mortar is still fresh.

During plastering checklist
Bullheads and thickness levels: Prepare bullheads and check thickness and levels during plastering to maintain consistency.
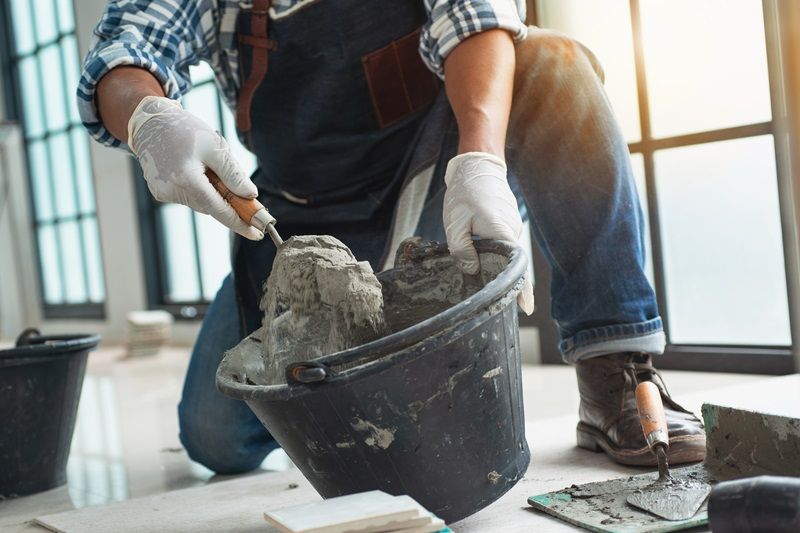
Proper mixing: Ensure that cement, sand, and water are mixed properly to create a uniform and waste-minimised mixture. Mixing should be done in a metal pan to avoid contamination from the ground or soil.
After plastering checklist
Curing: Begin curing as soon as the plaster has hardened to ensure maximum strength and prevent cracks. A minimum of seven days of curing is recommended for plastered surfaces.
Grooves: After plastering the outer walls, cut grooves to prevent cracks caused by temperature differences. These grooves function as expansion joints in the wall.
In conclusion, achieving high-quality cement plastering work requires attention to detail and adherence to a systematic checklist. The steps outlined in this blog, both before and after plastering, will guide you in creating a polished and professional finish that enhances the overall appearance and durability of your walls.
Buy online
Mild SteelStructural SteelTMTCementJSW One MSME
About usBlogsSitemapJSW One TMTPolicy
Terms & conditionsPrivacy policyReturn policyBanking partner


 +91 7208055523
 Help & support